We may earn money or products from the companies mentioned in this post.
Are you tired of spending a fortune on home renovations? We were too. That’s why when it came to our kitchen pantry, we decided to take matters into our own hands and do it ourselves. Not only did we save a whopping $15,000+, but we also got to have a better-working pantry in a weekend and add a custom style. In this post, I’ll share our journey of how we completed our kitchen pantry. Warning: You may be inspired to tackle your own kitchen pantry DIY project too!
The Motivation Behind Our Kitchen Pantry DIY
We are lucky enough that we got to move into a new home, and we didn’t just have a new pantry, but a walk-in pantry too.
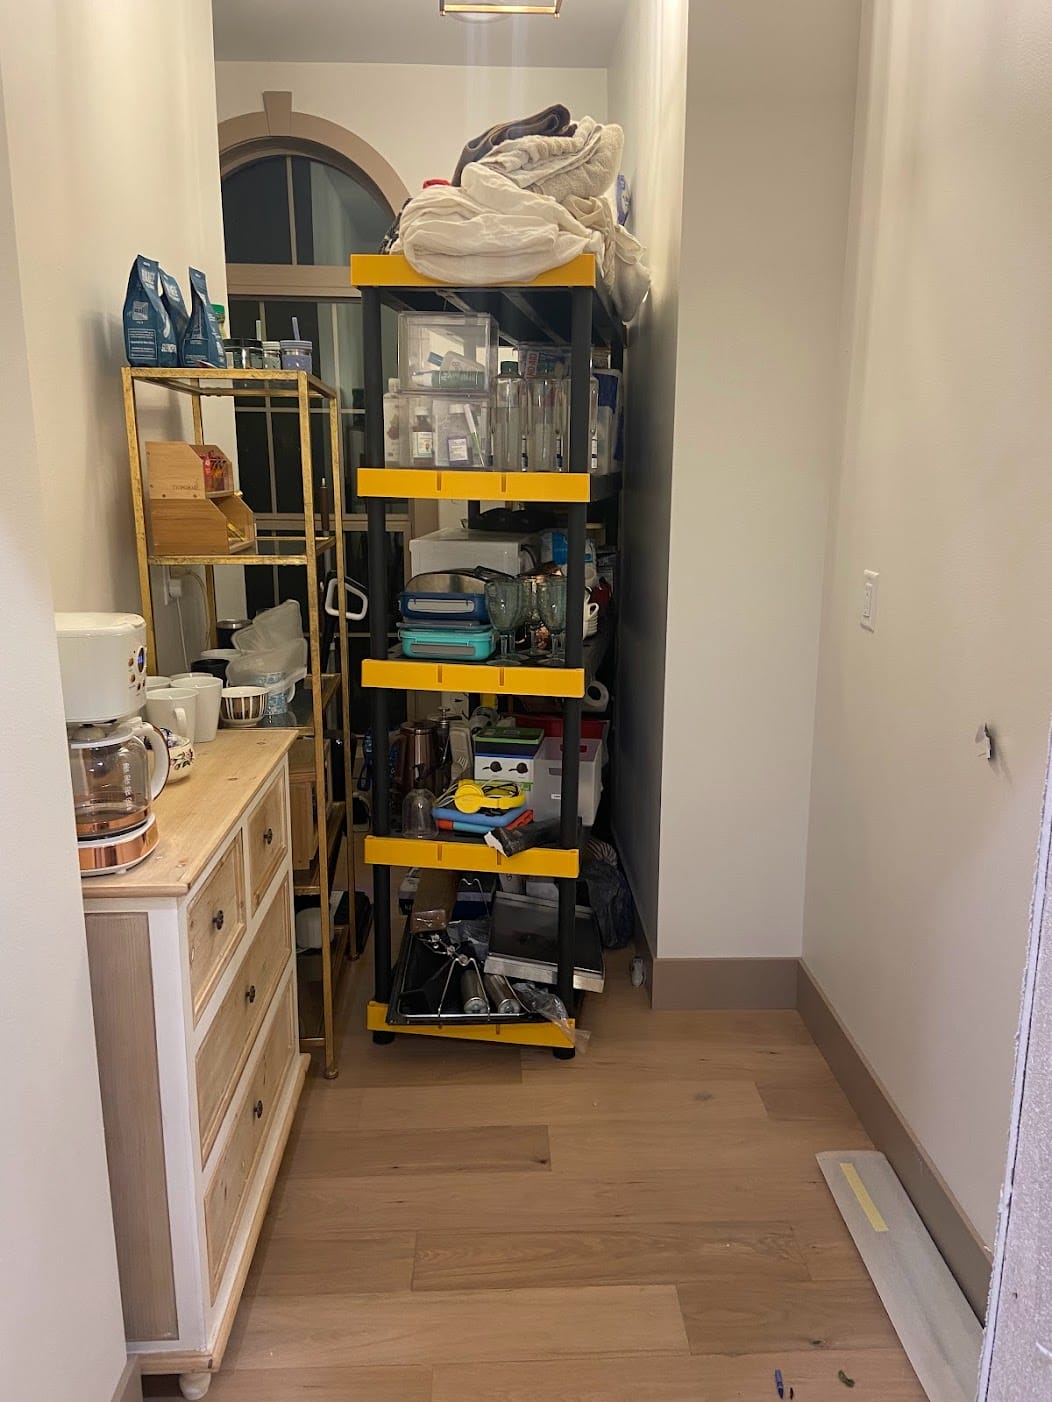
But towards the end of our build, we were completely over spending money, and with all the other things to prioritize and focus on, the pantry became a total mess and eyesore.
We had already worked with a cabinet designer and came up with a plan – and our cabinet design clocked in at around $13,000.
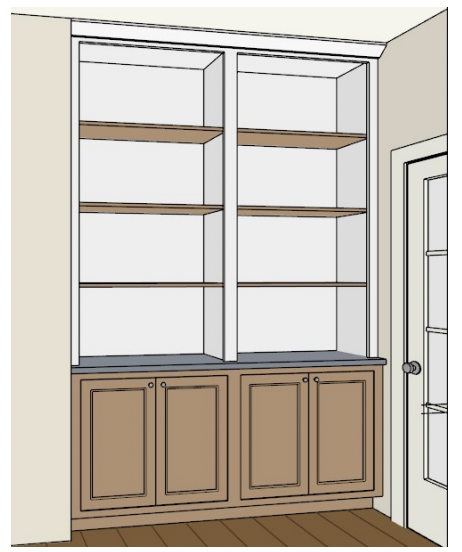
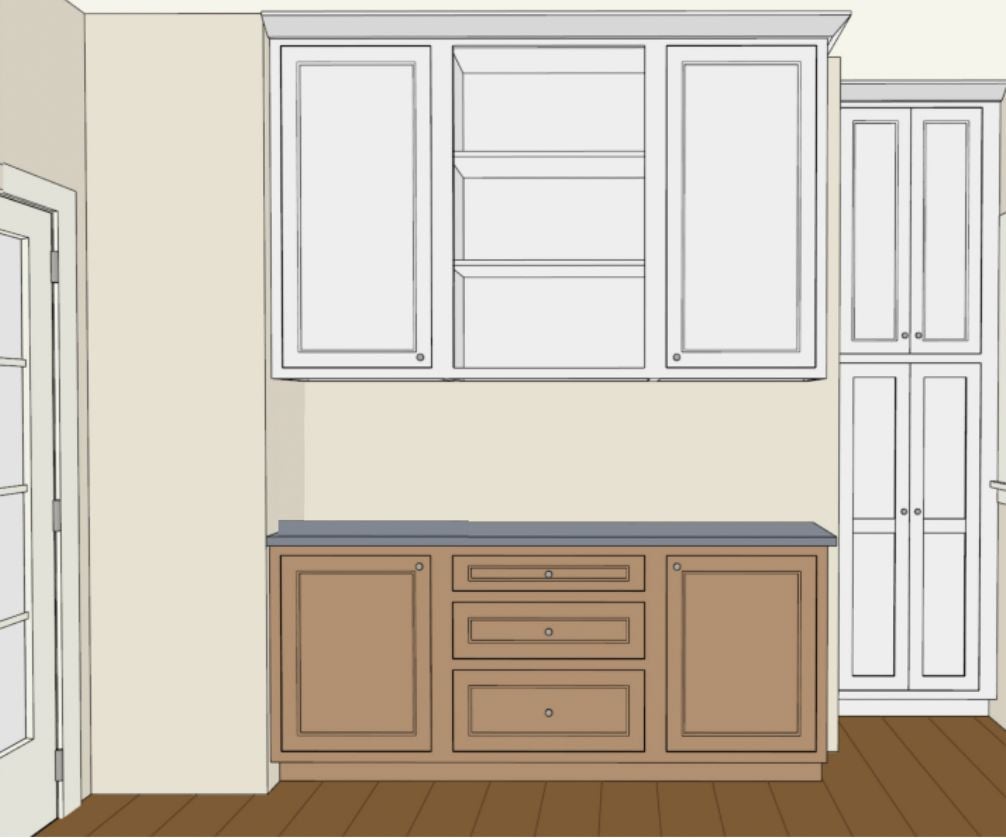
Even if we wanted to prioritize the pantry, it was going to take months to get the cabinets, thanks to lead times and the supply chain. And since these cabinets were RTA, we would have had to set aside the time to put them together ourselves or hire them out, increasing the cost. It was all feeling very overwhelming.
So esentially, the motivation behind our kitchen pantry DIY project was twofold. First, we were fed up with the lack of organization, mess, and wasted space in our existing pantry and we were ready for a change as of yesterday.
Second, we didn’t want to pay those cabinet prices, wait on the supply chain, or continue to shop around (the fatigue is real).
We knew there had to be a more cost-effective and faster way to achieve our goals. So why not just do it ourselves?
We knew that finishing out our own pantry would not only save us a fortune but get it done way quicker.
To ease the pressure, we went into the mindset of trying to make it look the best we could but knowing that if it was absolutely terrible, we could go back to the original pantry plan when we felt like investing that money. (Spoiler alert: We love it and have no plans to change it right now!)
So, ready to make a change, we got to work!
Cabinets
Custom cabinets are without a doubt the most expensive part of any kitchen or pantry. Because our overall space is on the narrow side and we wanted an upgrade from wire shelves, custom cabinets were our only good option, and though I was pleased with the plan and rendering, they were going to cost a lot of money.
There are times that quality cabinetry is worth it (we splurged in our kitchen), but there are also times when you have to balance out the cost, choosing a higher-quality pick in one area, and a more budget-friendly pick in another.
We looked around at places like Menards, Lowes, and Home Depot for more affordable kitchen cabinets. Because stock base cabinets are too deep for our space, we planned on getting base cabinets and cutting them down.
It sounded like a lot of work and we weren’t thrilled with the idea, but then we found stock wall cabinets that were the perfect depth!
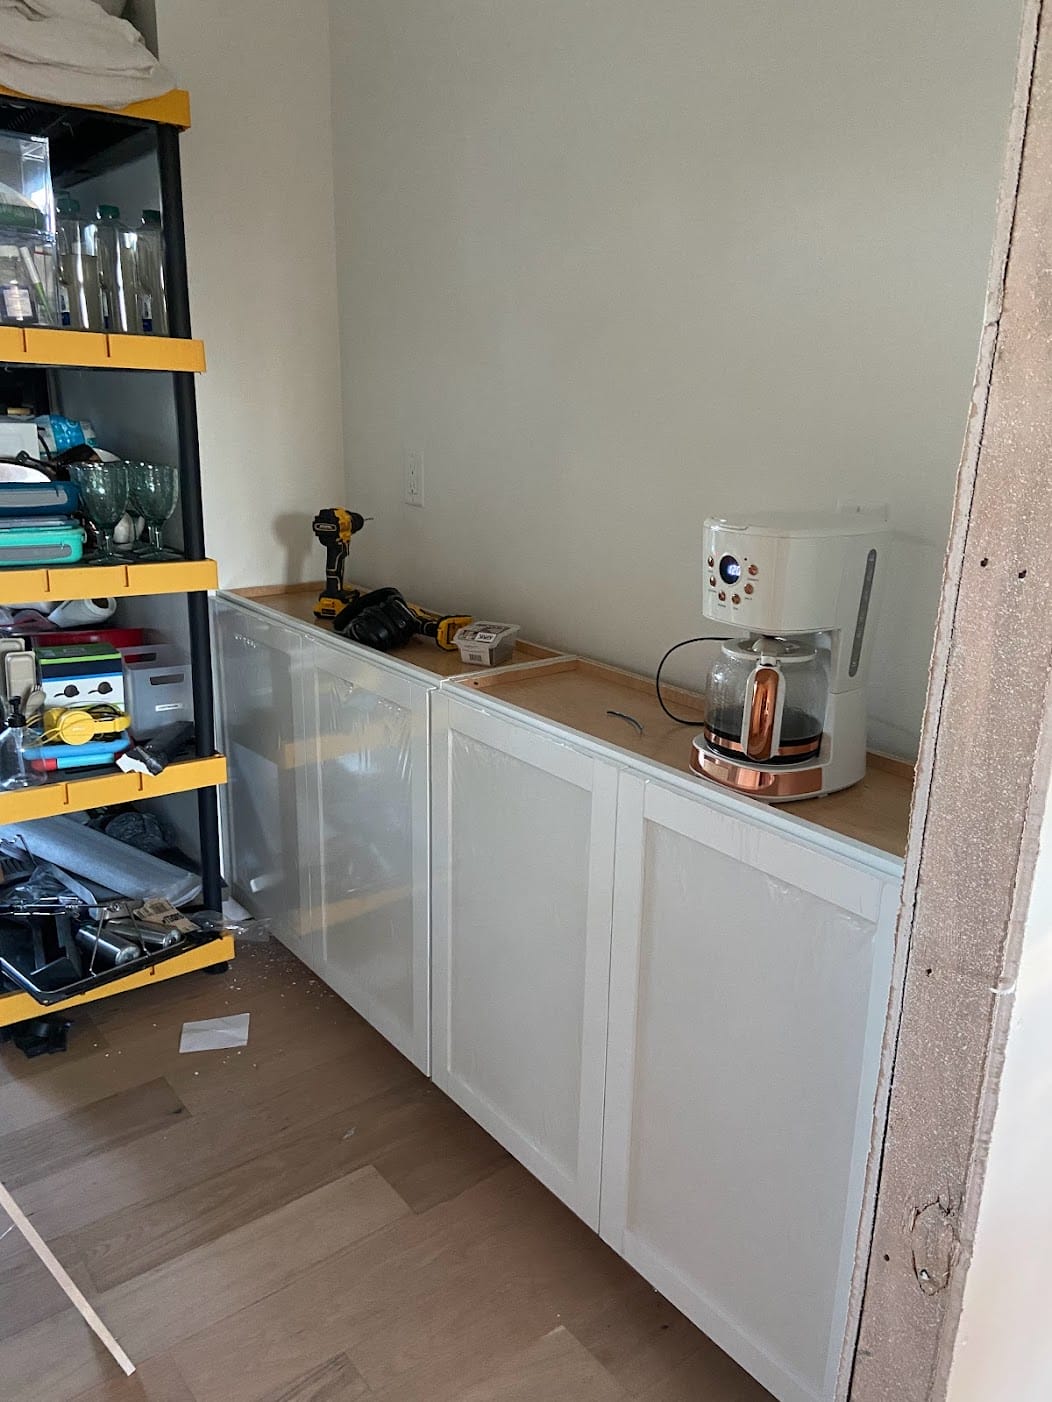
We built a base to make them tall enough and then concealed that with a toe kick. This did not take a long time at all and it was a great way to get cabinets at a fraction of the price. Our cabinets cost about $1,000.
We found them at Lowes and I’ll admit, the cabinet doors are not the highest quality and they don’t look all that expensive. I thought about scrapping the whole idea, but thought if the room got completed, you might not be able to tell that the cabinets looked a little cheap.
Plus, you really can’t argue with the price and how in a matter of hours, we already had cabinets that I could use to finally start organizing.
It’s true what they say: You can have fast, cheap, or good – pick two. In this case, we opted for fast and cheap and were hoping to bring all the “good” in through the finishing touches.
Countertop
After getting our full overlay shaker-style cabinets in place, it was time to get a countertop.
When I was browsing Lowes looking for cabinets, I came across this beautiful chevron-style butcher block. Now, I’m more of a herringbone gal, but it was unique and beautiful (and in stock!) and I knew I wanted to use it.
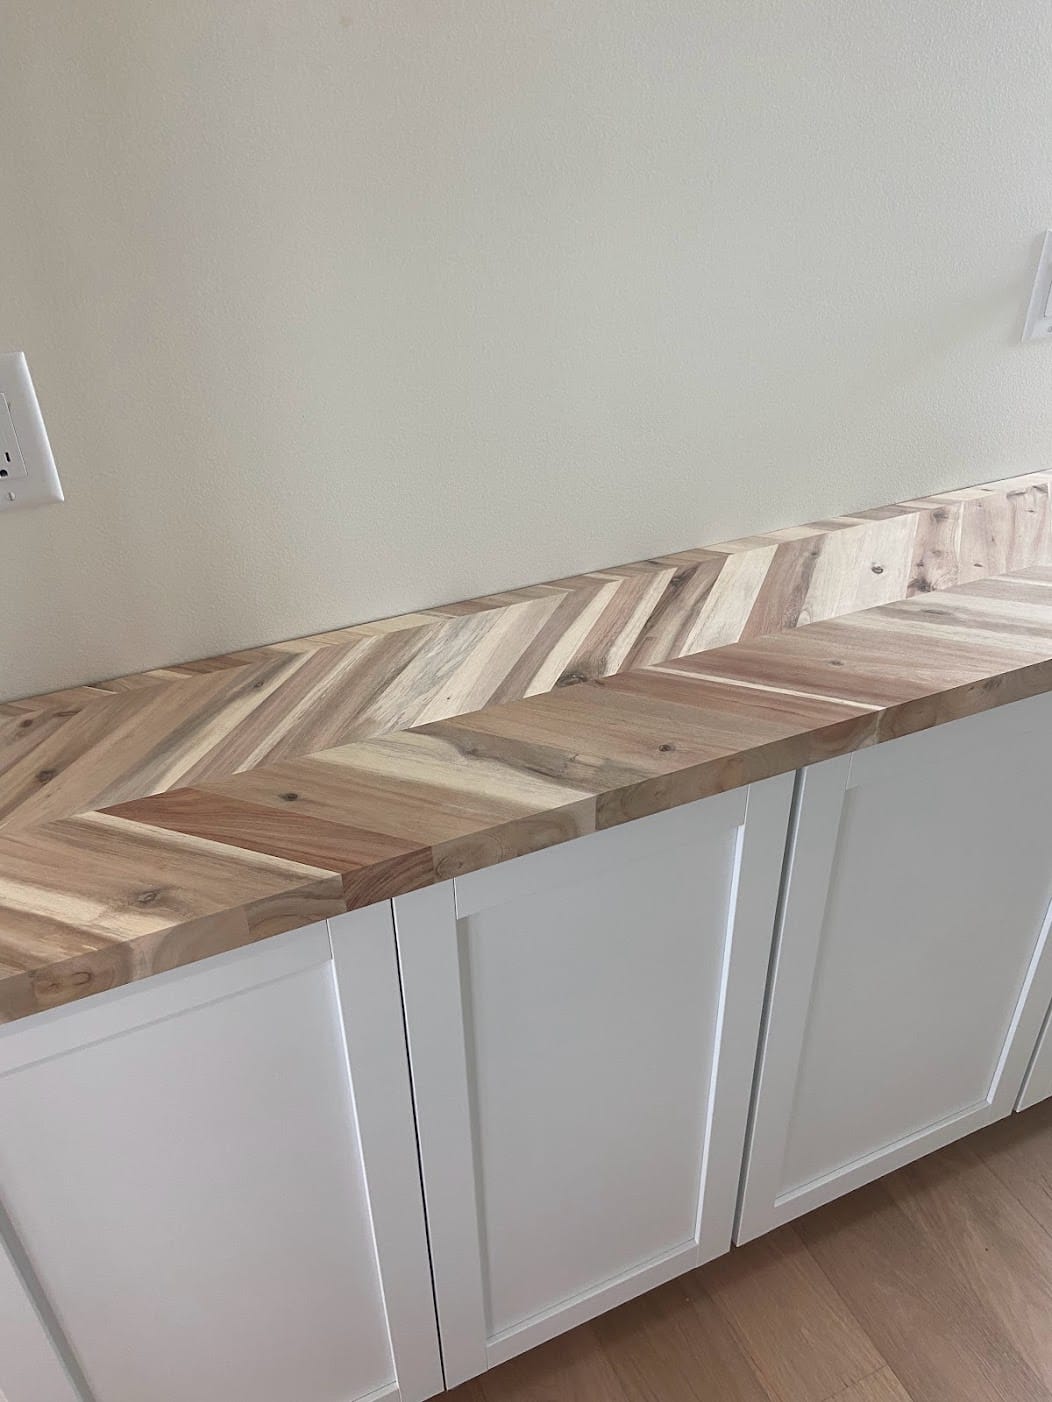
Our butcher block countertops cost around $800. We had to cut them down to fit our narrower depth, but we did have some left over and we used it for a shelf – which you’ll see soon. This saved us even more on materials and gave the space a cohesive look.
Backsplash
Though I never planned on doing a tile backsplash in here, we had lots of leftover materials at this point in our build and thought, why not use it? It’s just sitting in the garage anyway!
It wasn’t our first time doing tile, but it was my first time using the Zellige-inspired tile, and I’m thrilled with how it turned out. I love how forgiving an irregular tile is. You don’t have to get it perfect, so I found that it was very DIY-friendly.
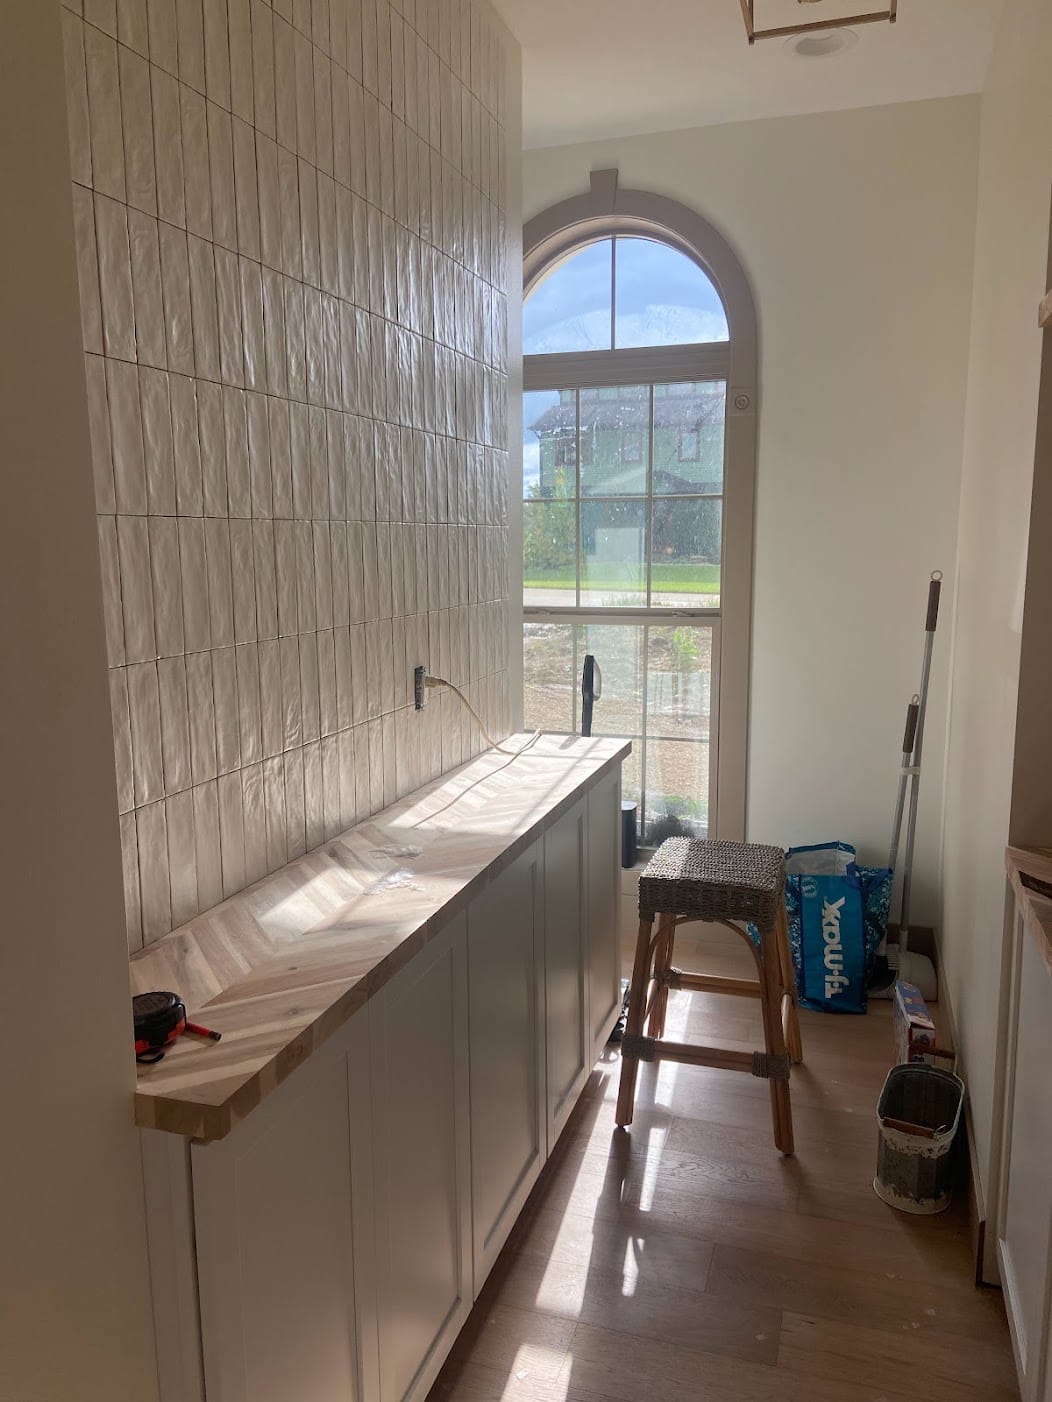
Because the tile was leftover from the kitchen and we purchased it over a year ago, I consider this part of the project free!
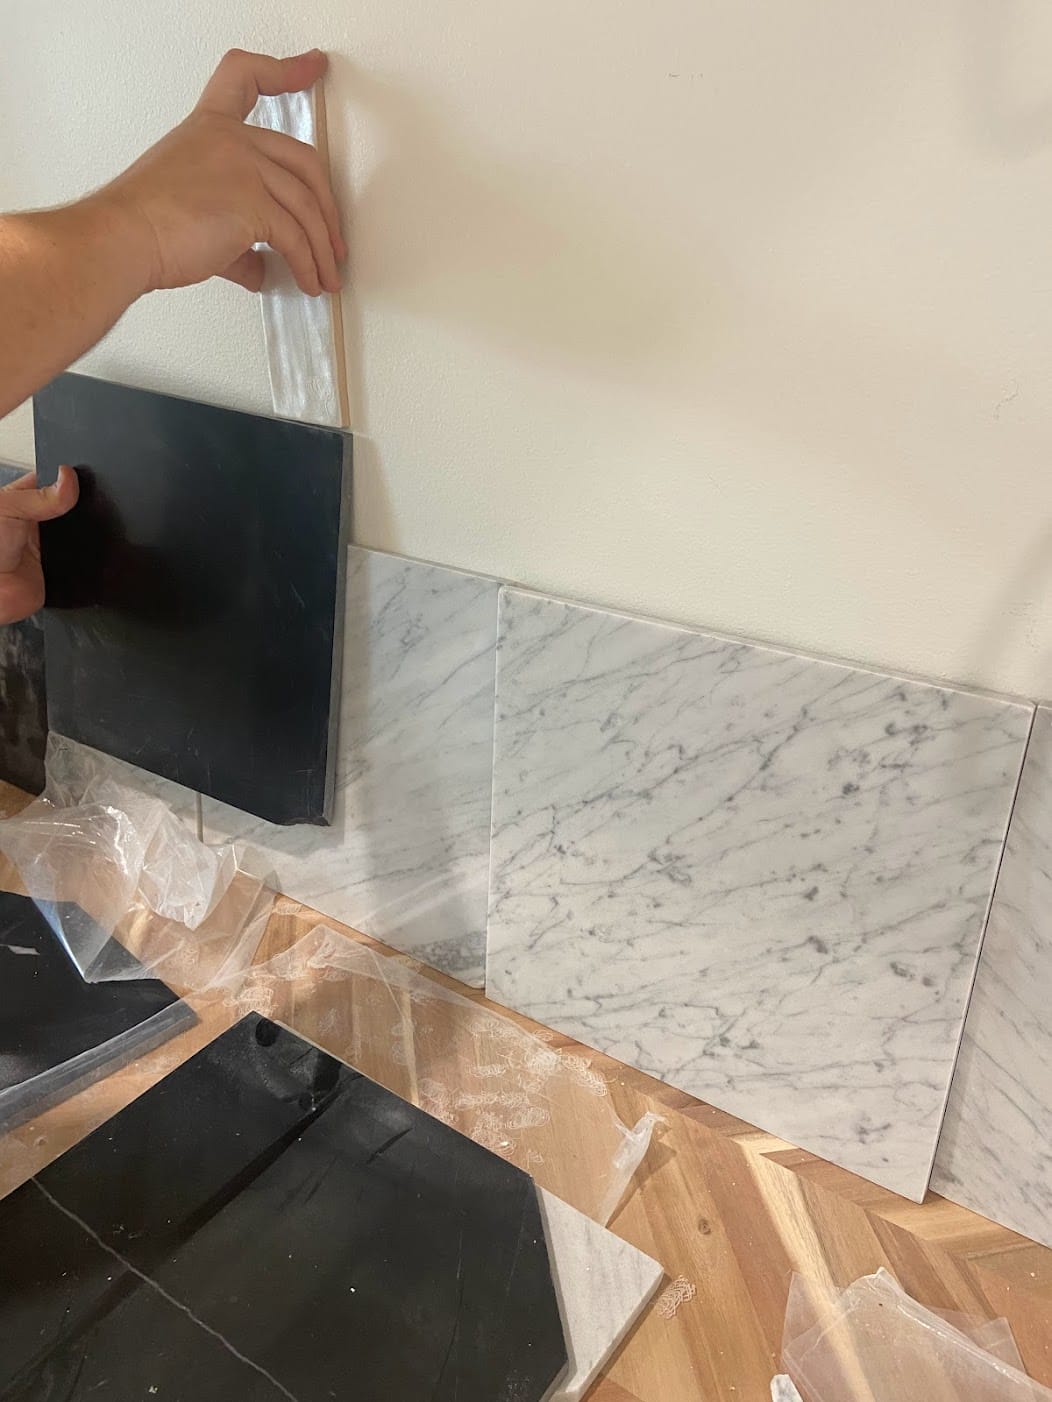
We didn’t have enough tile for the opposite wall, but had some, so we got to thinking how we could use it. Using the leftover black and white marble tile from Stone Center that we used in our entryway, we created our own custom pattern.
The Kitchen Pantry Reveal
“Only Paolo can take this and this…

…and give you…a princess!”
(Name that movie)
There are so many good details in here I don’t know where to start!
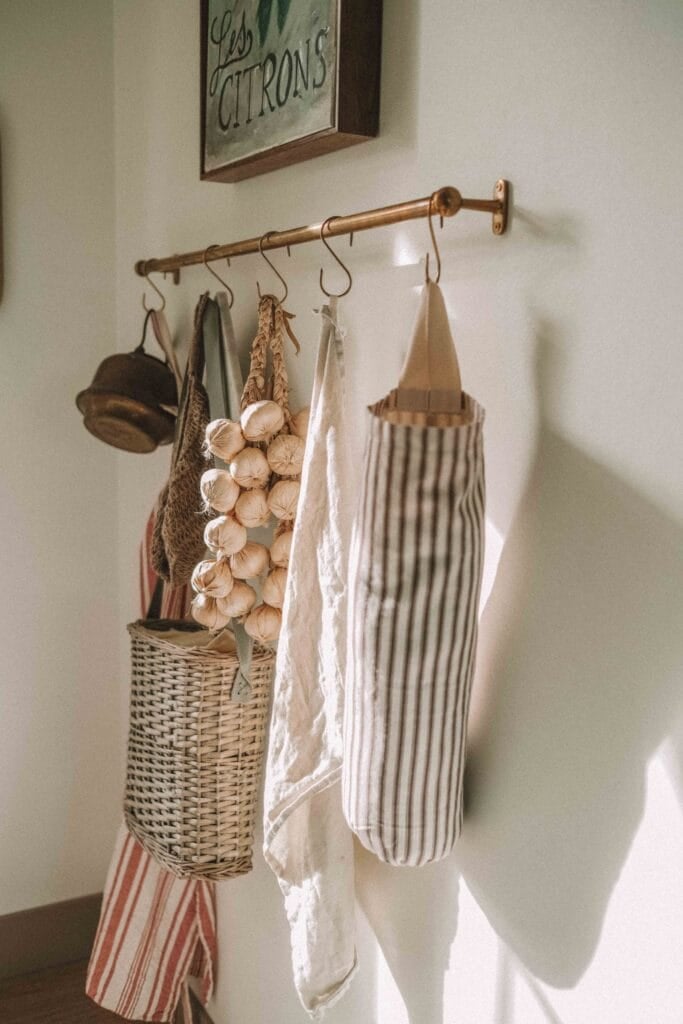
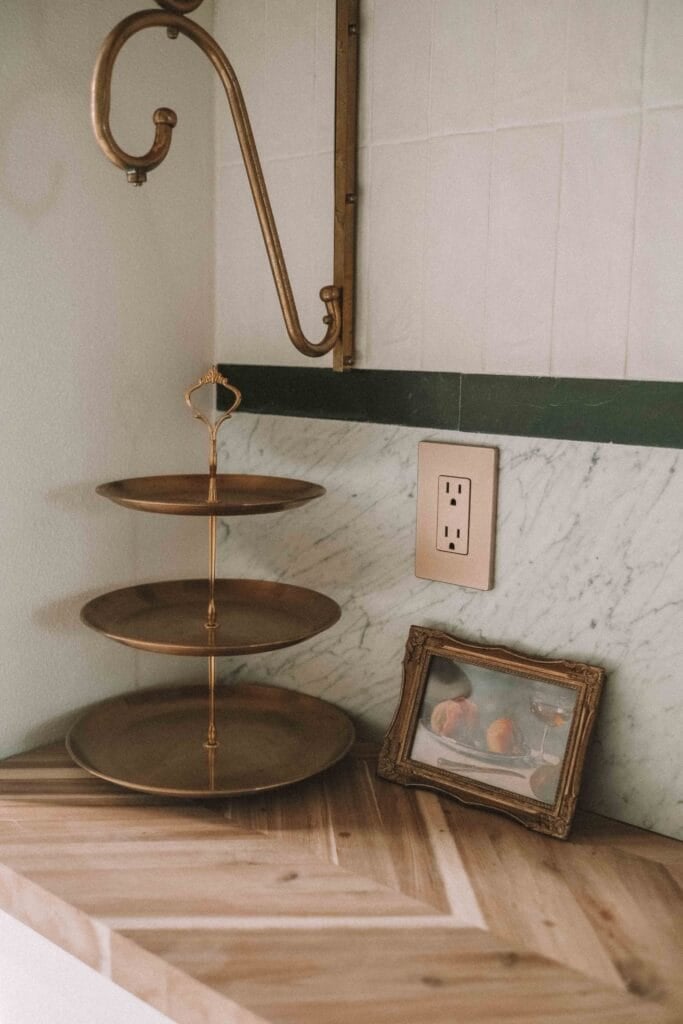
Let’s start on the right side of the room.
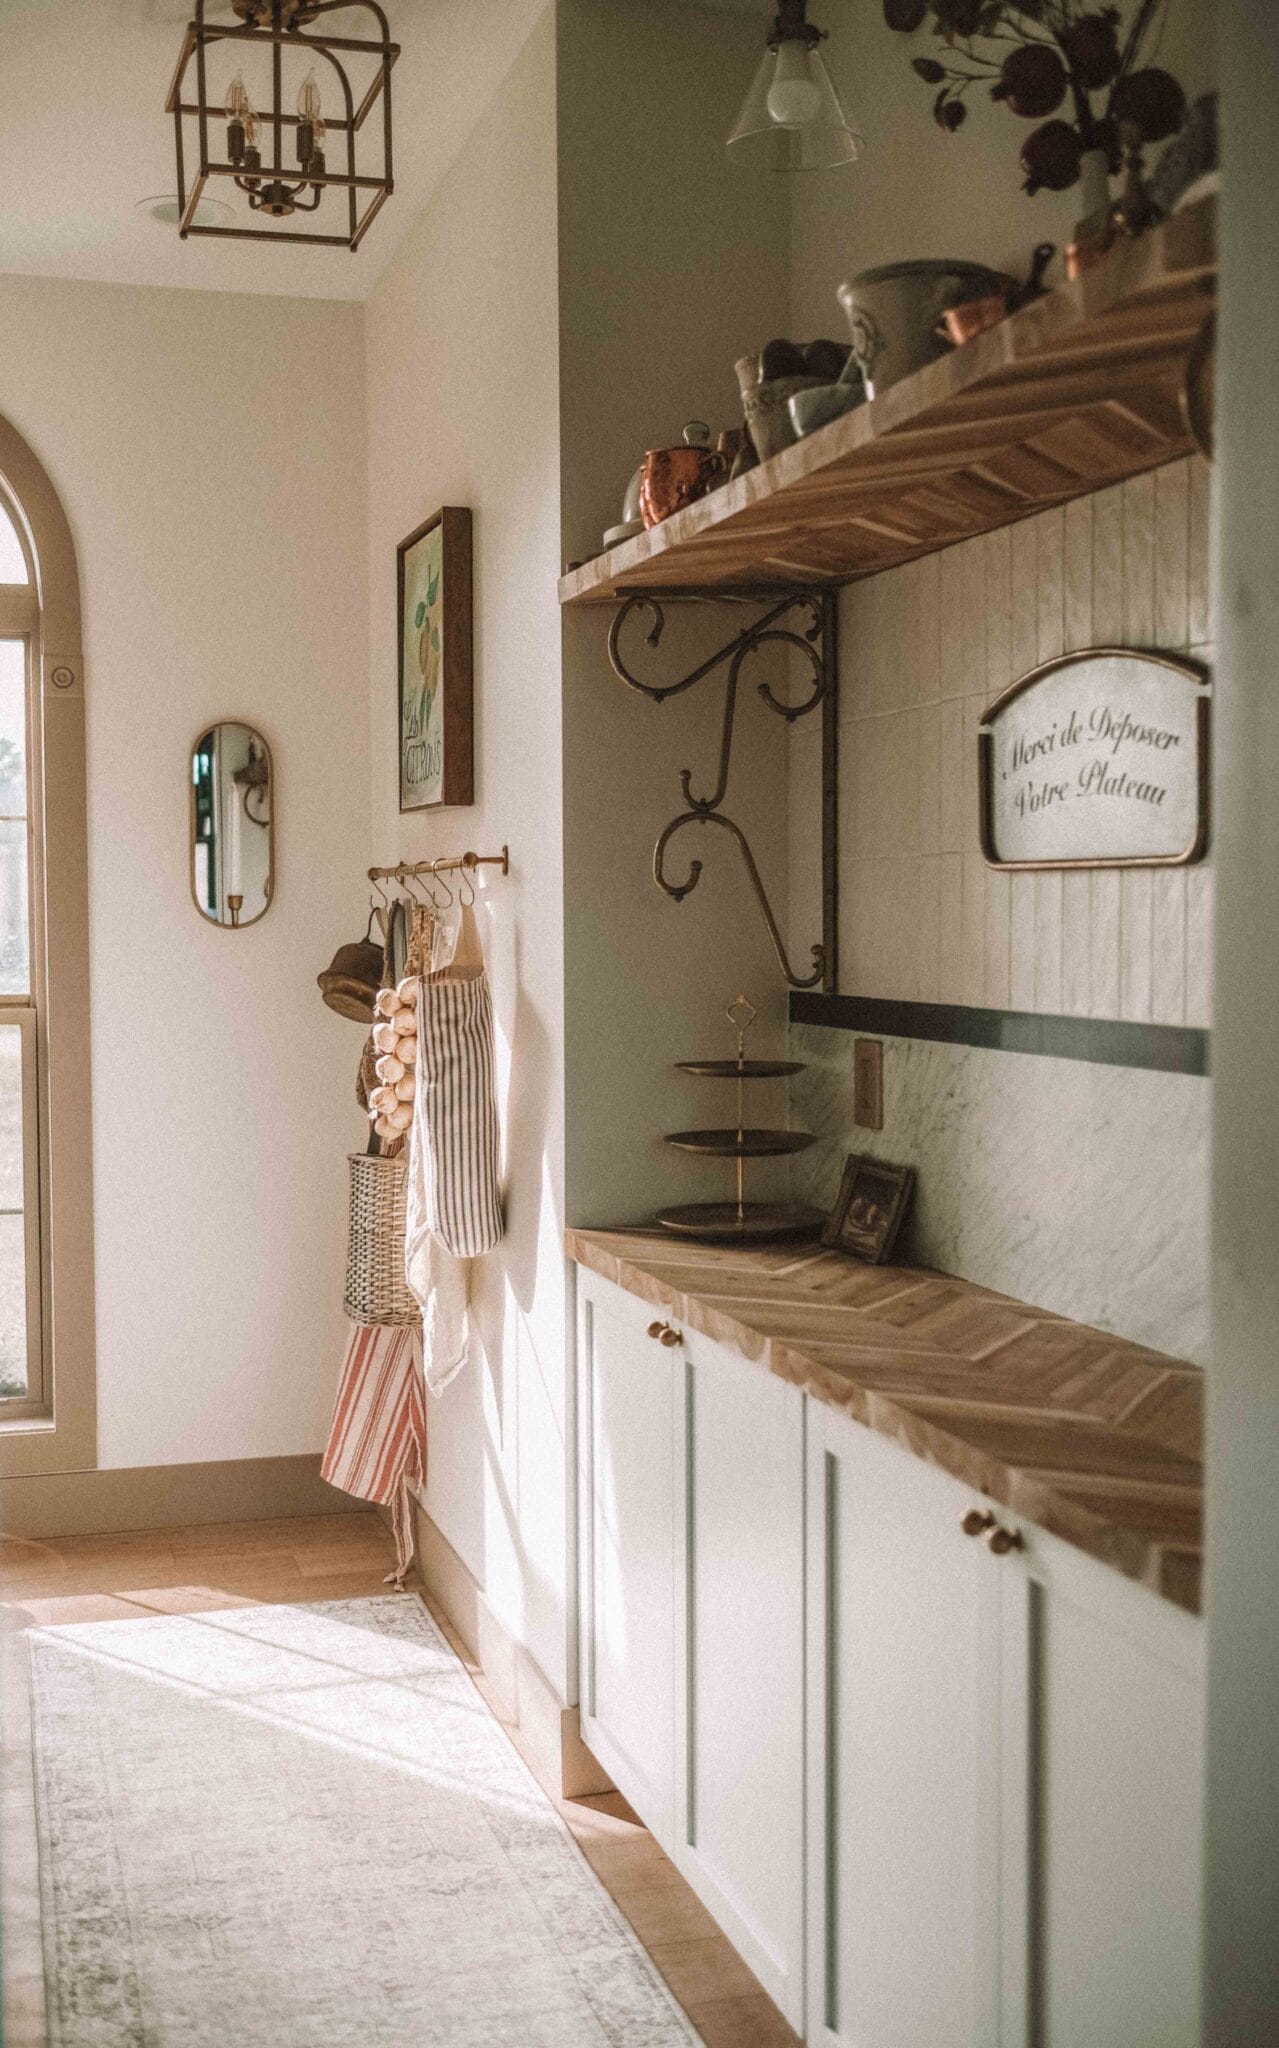
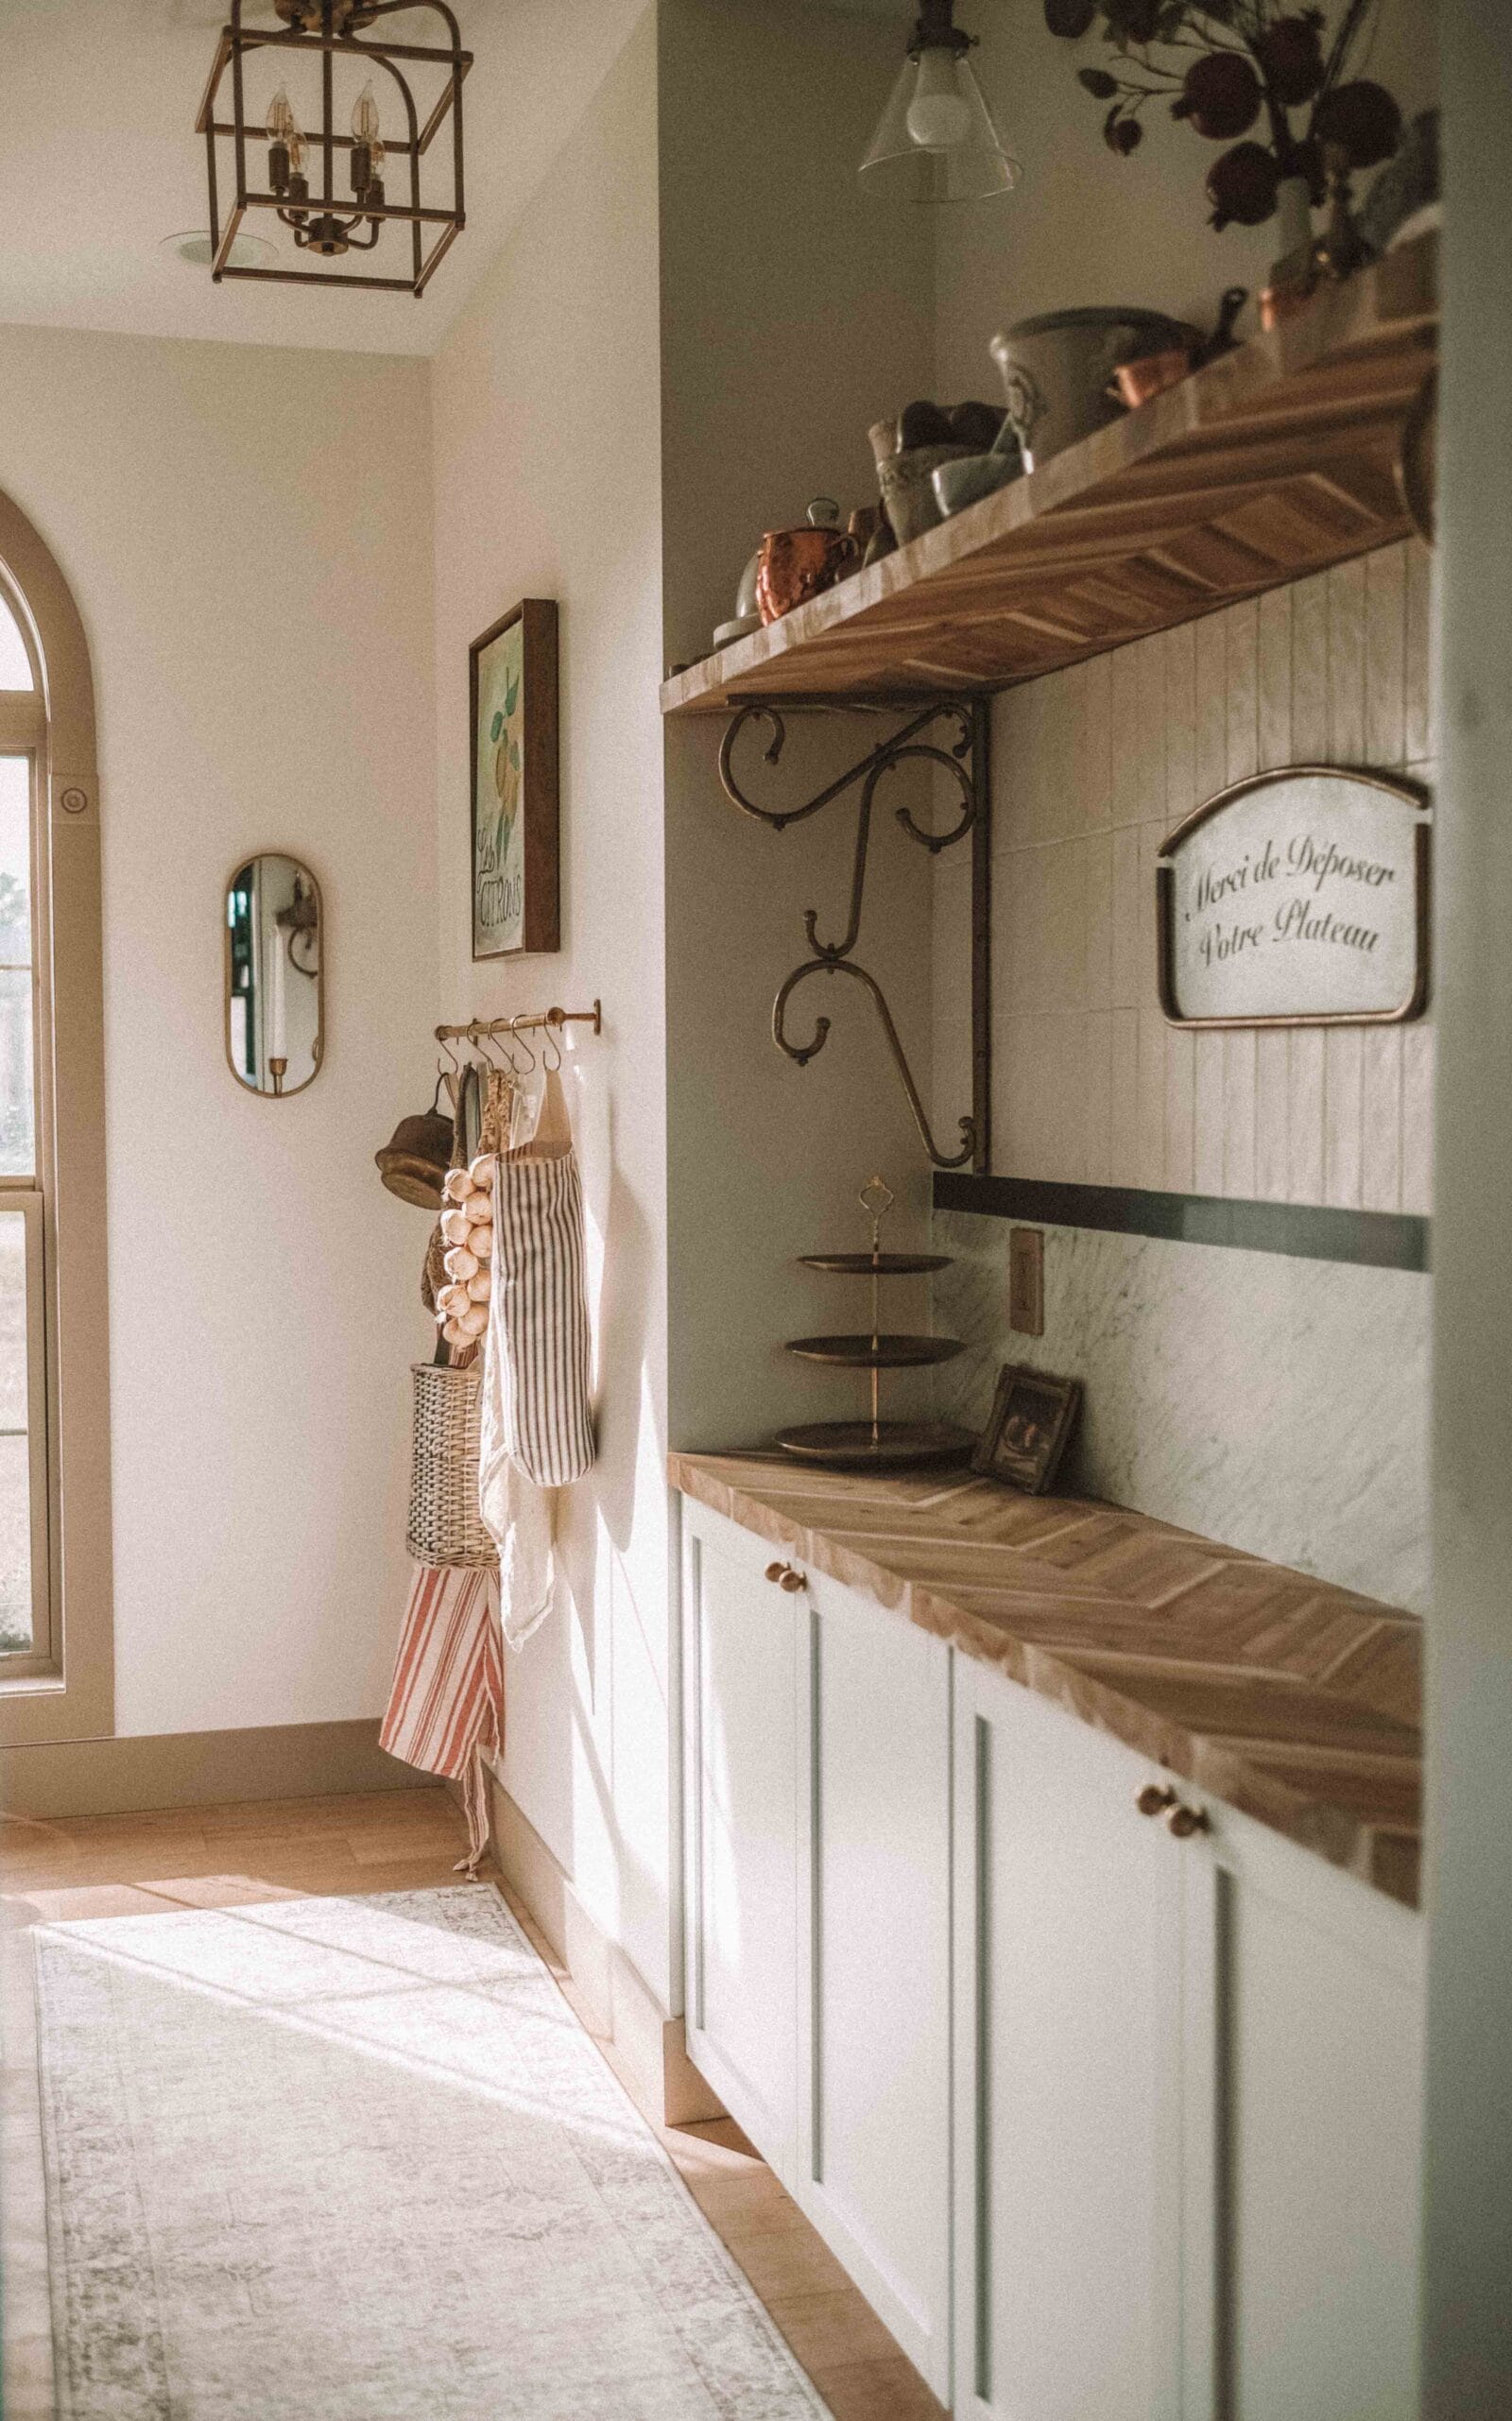
As you can see, my inspiration for this space was a Parisian bistro. Not only am I infatuated with this aesthetic, but it also coordinates with the rest of my European-inspired home.
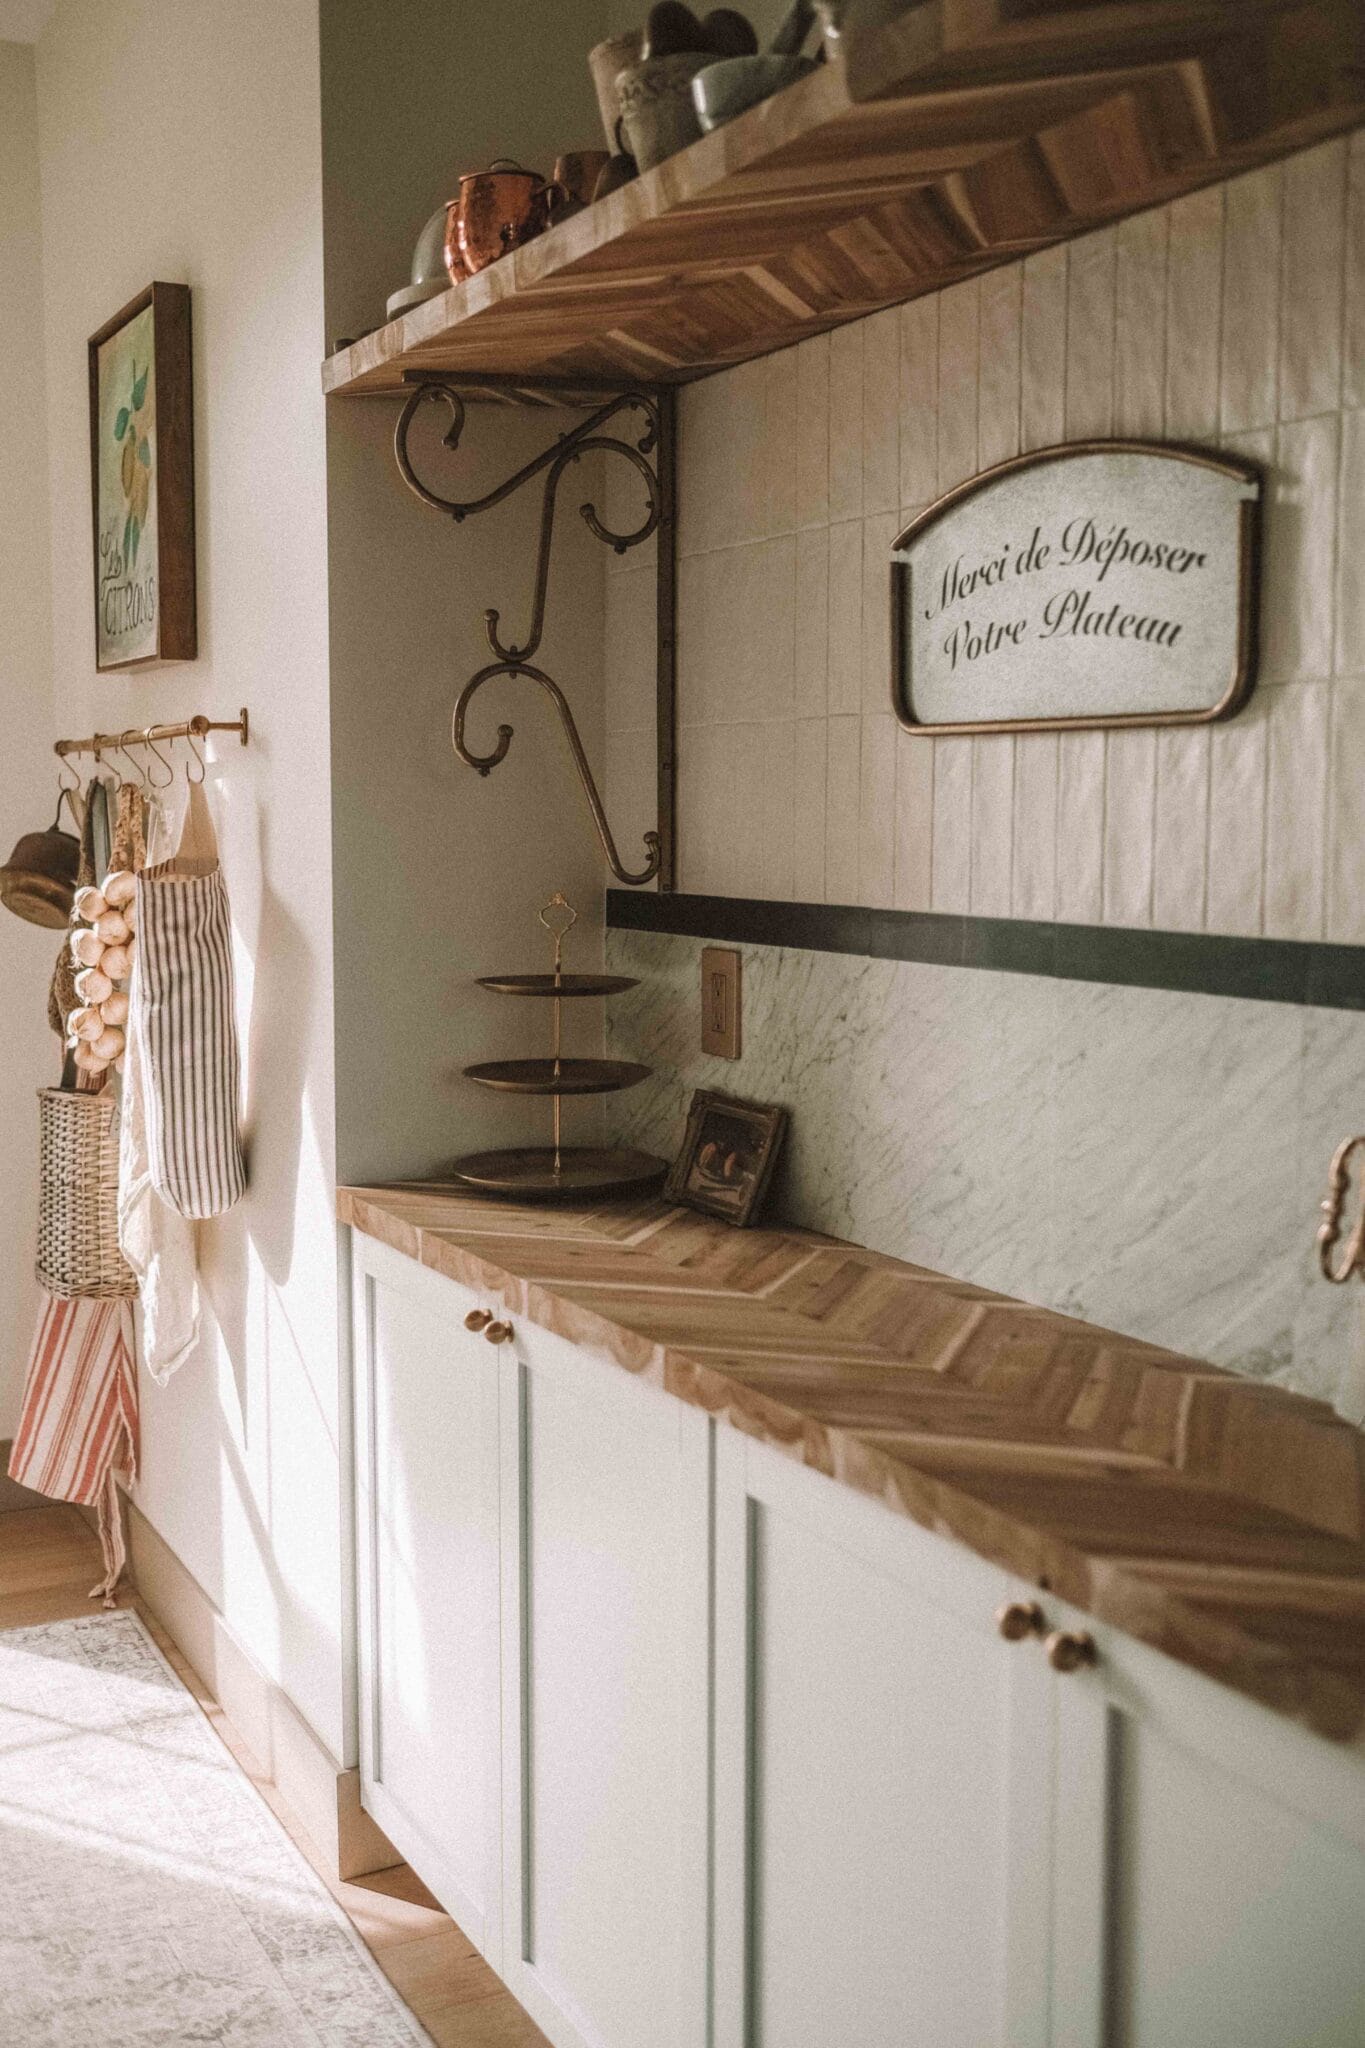
I love the Parisian aesthetic so much that I tried to find French antiques to fill the space. The brass and silver sign was actually found in a French cafe (via Etsy). I had it shipped from France and it just makes the space. It translates to, “Thank you for depositing your tray.”
The white cabinets ended up looking a lot more expensive with the brass hardware and other design elements. The gold outlets upgrade the whole space and coordinate with the rest of the finishes.
The beautiful brass shelving brackets were a flea market find for $15! They hold up the leftover countertop that we made into a shelf.
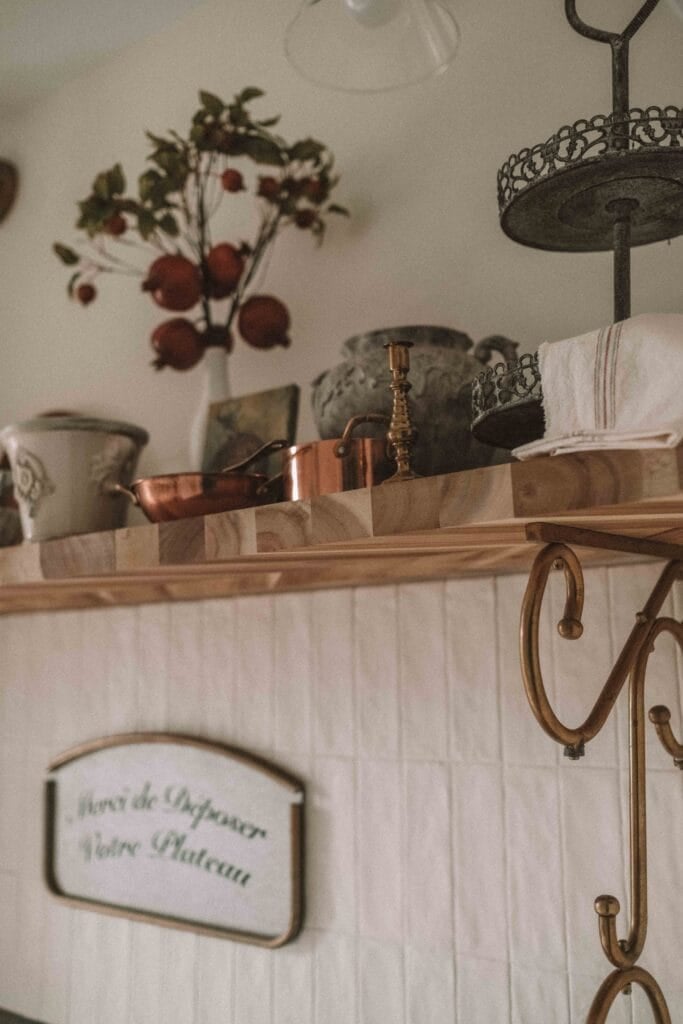
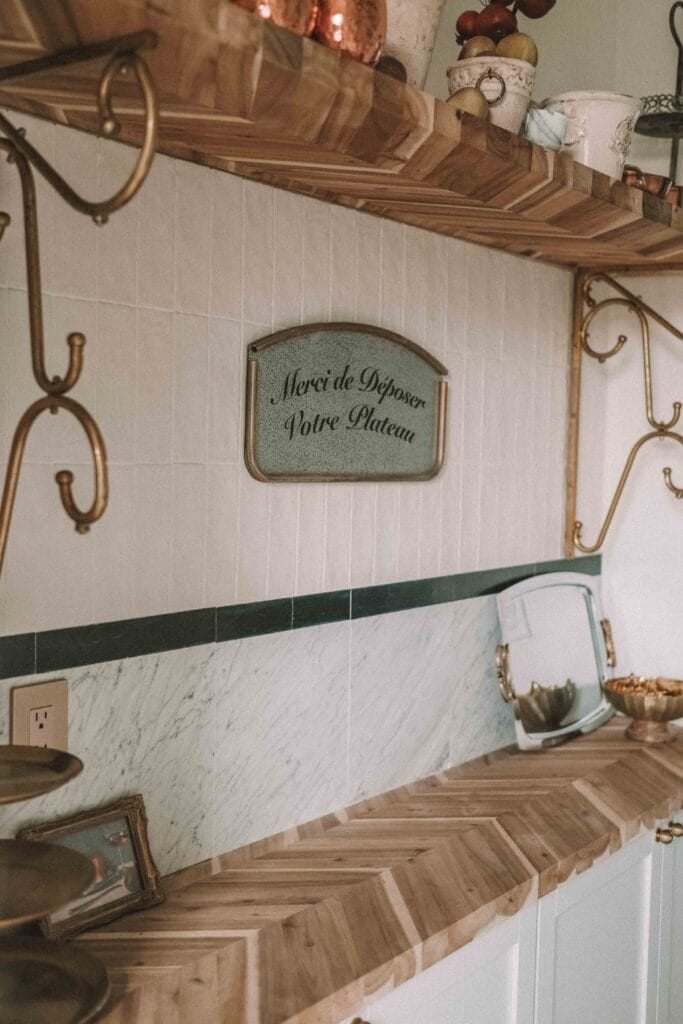
From my silver platter to my picture frames, the rest of the little decor details are thrifted, things I previously had, or found from places like T.J.Maxx or Hobby Lobby.
Behind the cabinet doors, you’ll find pantry items like paper towels, vitamins, medicine, extra household products, special occasion dishes, and napkins.
Because we (thankfully) have a lot of storage space in our kitchen, we didn’t need this pantry for food items. This is the designated storage room for our main level, so what works best for us is to use it for household items.
Now, onto the other side of the pantry!
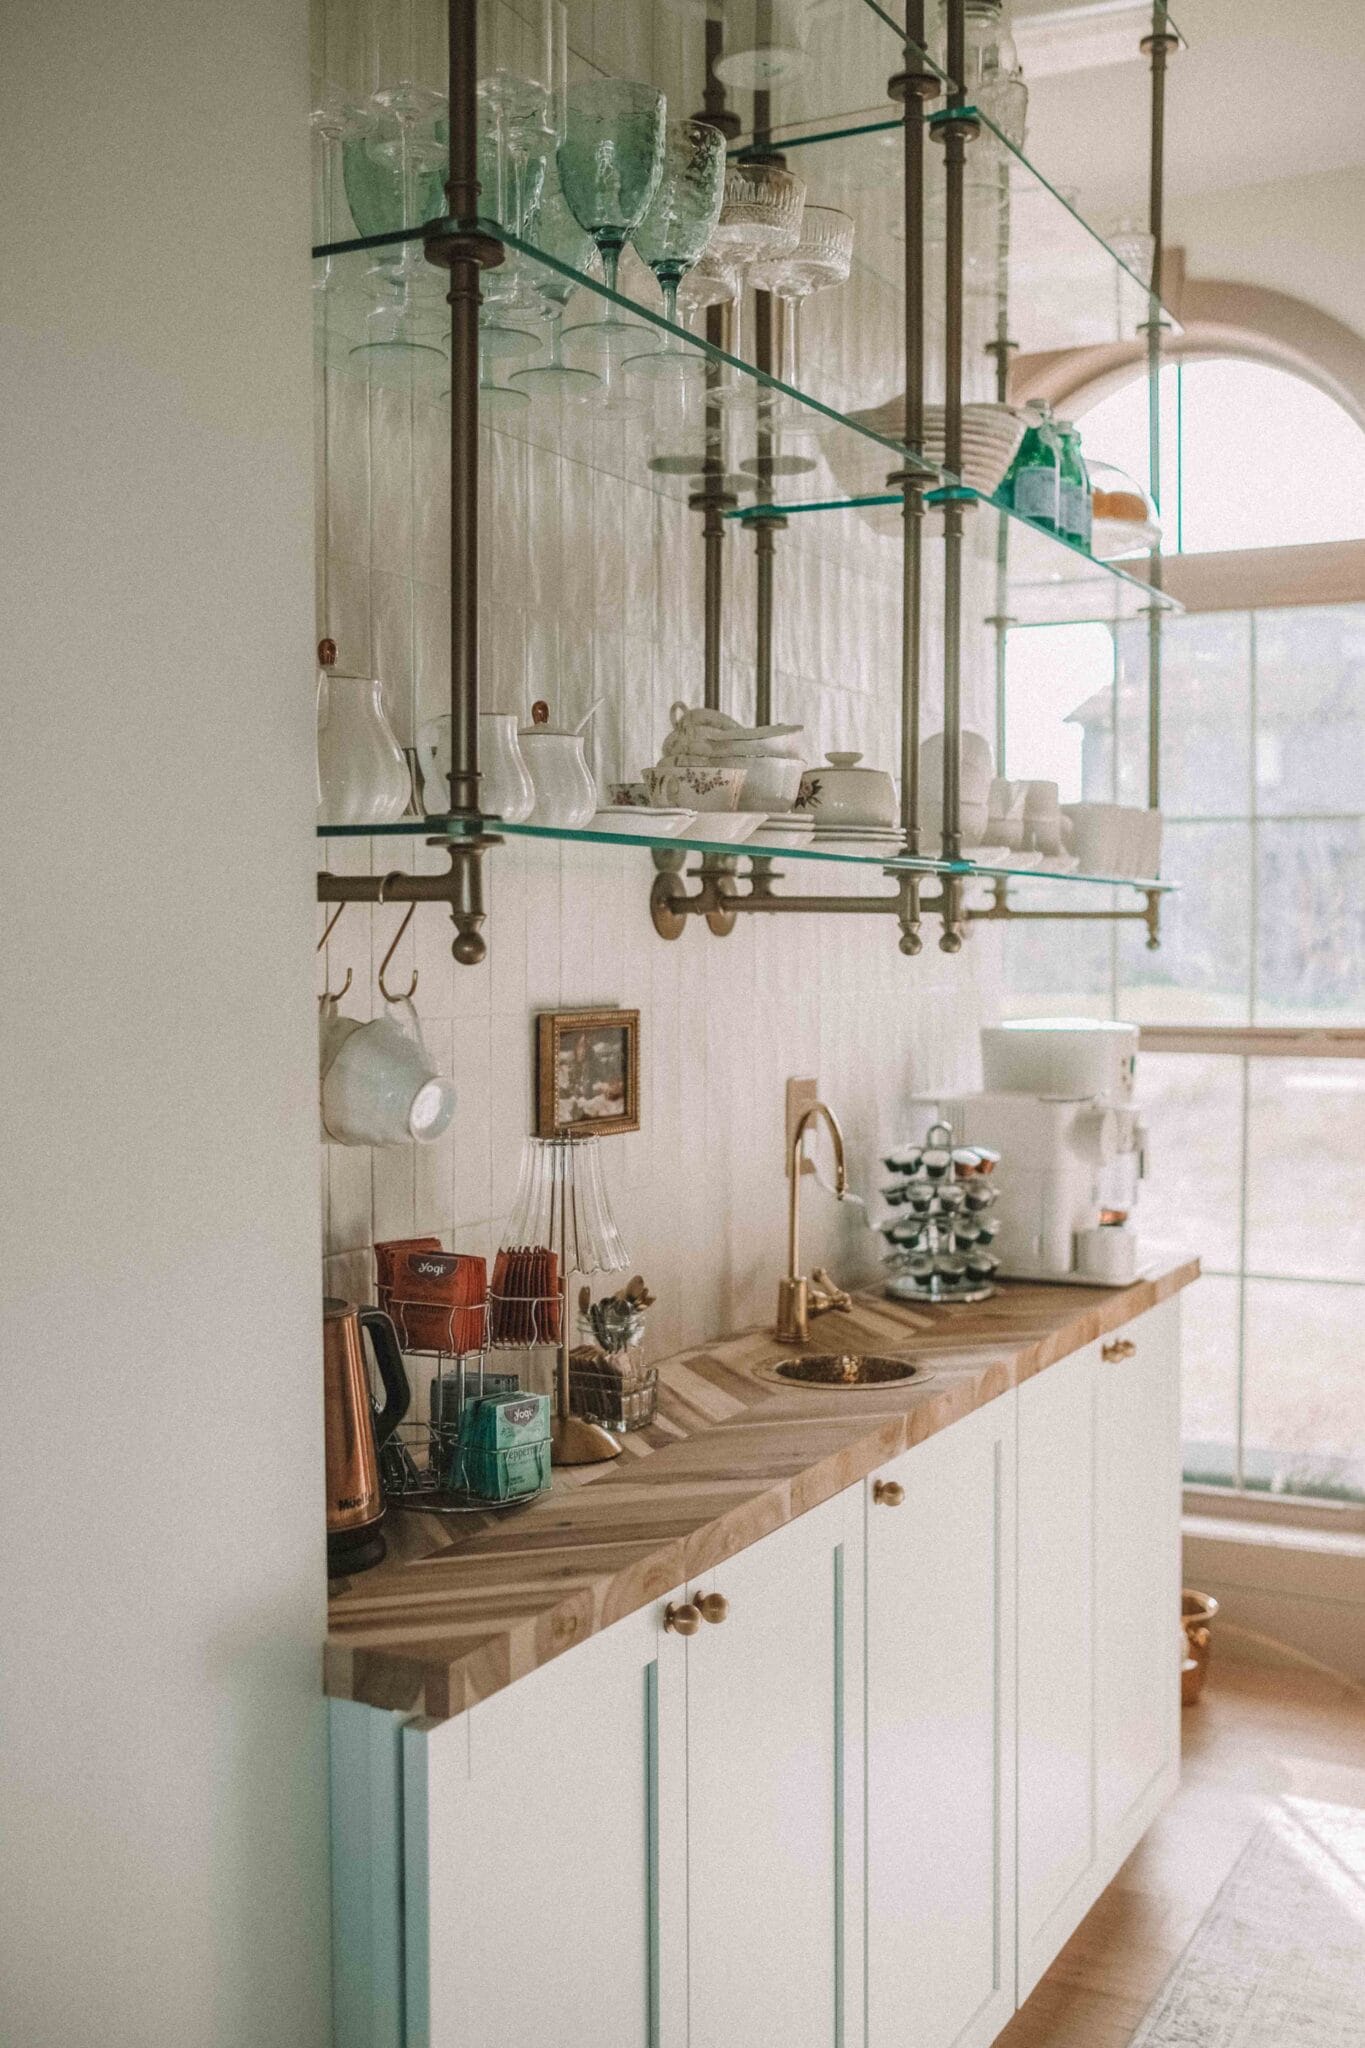
We love our beverages, can’t you tell?
Being avid coffee, tea, and espresso drinkers, it only made sense to turn this into a coffee bar – and I couldn’t be more pleased.
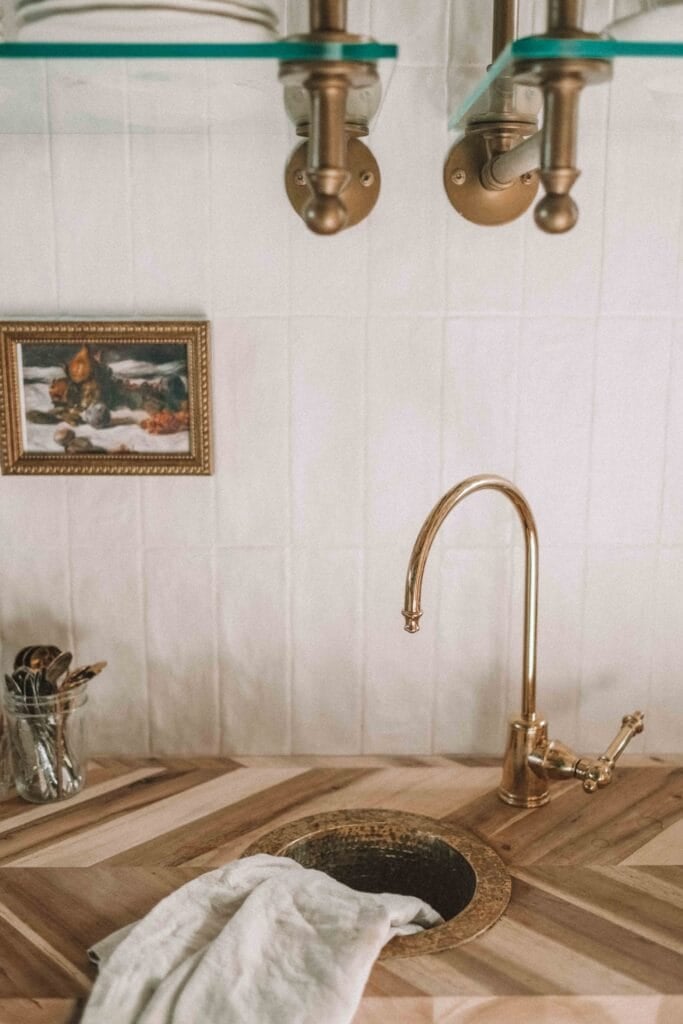
The sink rough-in was already done by plumbers, so we just brought it to life with this handmade brass sink and this brass faucet.
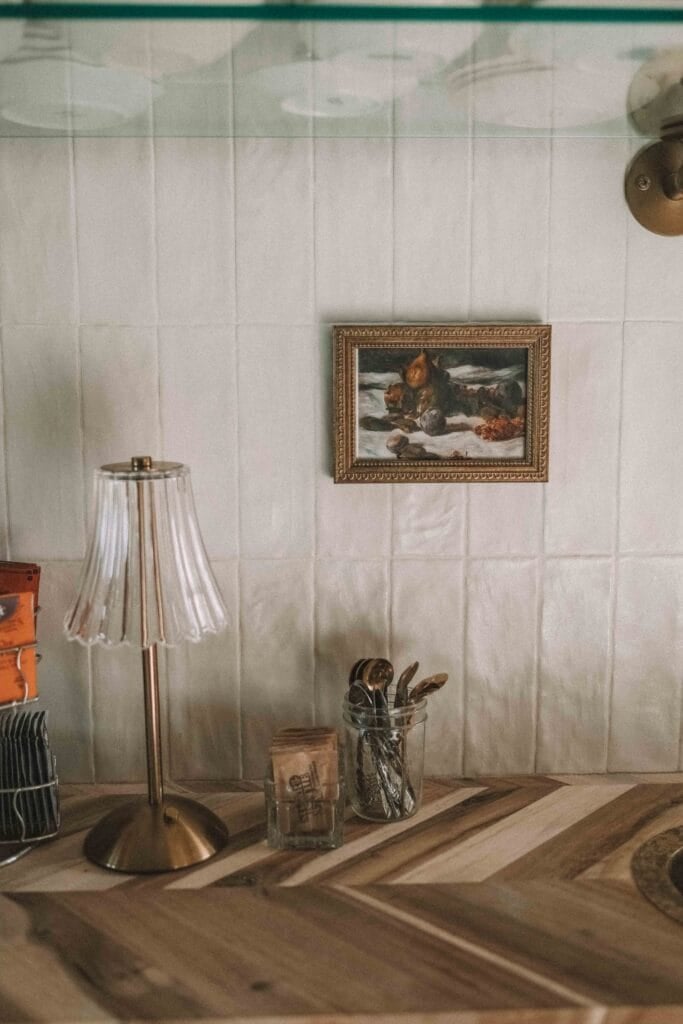
The copper kettle, spinning tea carousel, cord-free lamp, sugar packet holder, gold spoons, Nespresso pod holder, Nespresso machine, and white and copper coffee maker all have a practical purpose while still being aesthetically pleasing.
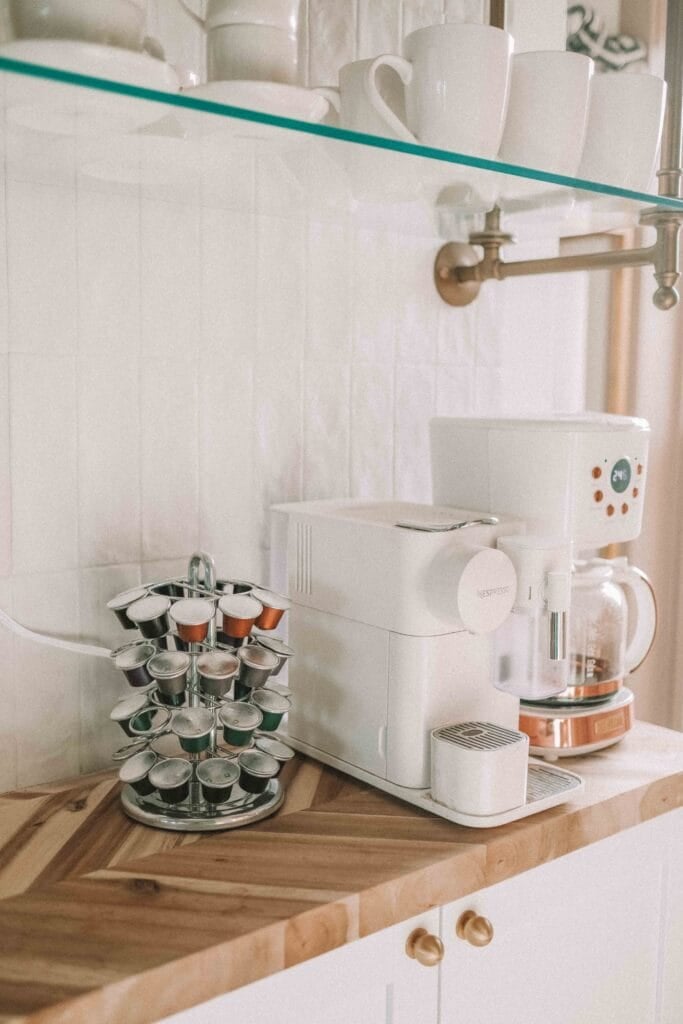
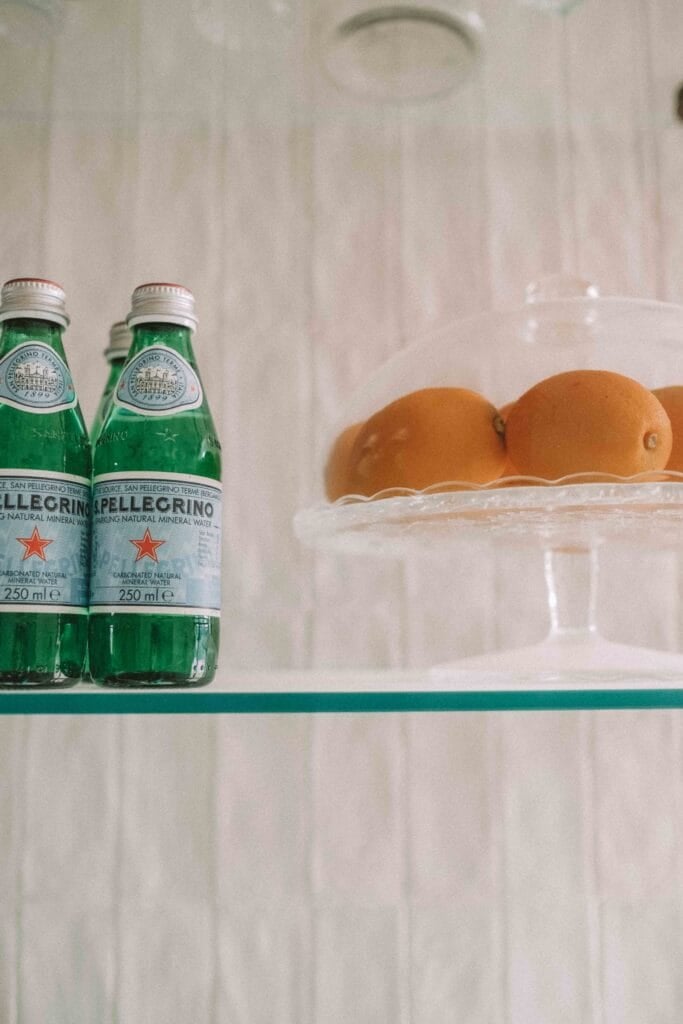
I already had these glass and gold upper shelves and they were the perfect solution for my coffee area. The best part is that they filled the wall space, making it look like I planned for them all along!
When really, I purchased them a few years ago, kept them in storage, and had a completely different thought on how I’d use them. Don’t you love it when a plan comes together?
On the top shelf, I keep items that I don’t use as frequently, and within easy reach, you’ll find my tea cups and coffee mugs.
Putting the DIY In Kitchen Pantry DIY
So, how did we save over $15,000? Well, the obvious answers are the cabinets and labor. Instead of spending $13,000 on the cabinets and then money on installation, we spent $1,000 on cabinets and did it ourselves.
Tile installation would have been $700-1k+ (based on previous bids), not to mention the cost of purchasing new tile. And since we used what we already had, our tile cost was $0. (I know it still cost money at one point, but let me have this one!)
Stone countertops would have been around $2-3k, but our butcher block pick was around $800 instead.
Though I didn’t add it all up to the dollar, I know we saved at least $15,000!
You can’t deny the value of professionals and there is definitely a time and place to hire out, but our DIY pantry was done in just a little over a weekend, and with a little creativity and resourcefulness, we were able to take our blank space and turn it into a custom pantry.
Though the previous plan with the custom cabinets would have been pretty and useful, I’m happy with our end result because it has a lot more personality.
Straying from the original plan can be a good thing, and I’m glad we decided to take this one. Whether you have a large space or a small pantry, I bet you can take on a DIY project and customize your own pantry too!
Want more house inspiration? 12 Charming French Country Backsplash Tiles for Your Kitchen




Wow, Beautiful job!!!
Thank you so much, Judy!
Oh, my goodness, I’m in awe! You and your husband did an incredible job, and the room is imbued with so much personality. Bravo!
Aw thanks, Jill! It was a big project to take on, but it ended up looking more “custom” to us because we got to add our personality!
It looks SO good!
Thanks, Renee! We feel spoiled having this space!
You have the most beautiful taste and the greatest eye! Love this beautiful area!
The movie quote? Princess Diaries for the win! I love the personalization of the space and as always, I’m gleaning good ideas from you!
Yep, you got it! And I appreciate that 🙂
Great job! It looks amazing! Especially the side with the brass and glass shelving! May I ask where you got them?
Thanks, Therese! The brass and glass shelving are from Ballard Designs and linked in the post!
Beautiful! I love the feeling of a job I create myself. Such satisfaction, I bet you feel that way with this project. The glass shelving is such an elegant touch. Nice work!
Thanks, Mary Kate! I love how everything came together in this project – rarely does that happen 😉
It looks so beautiful and has so much character. Just love it. Well done to you and your hubby.
Thank you, Noelene. We are thrilled with the end result!